Getting Started with the MagBeamUpdated 6 months ago
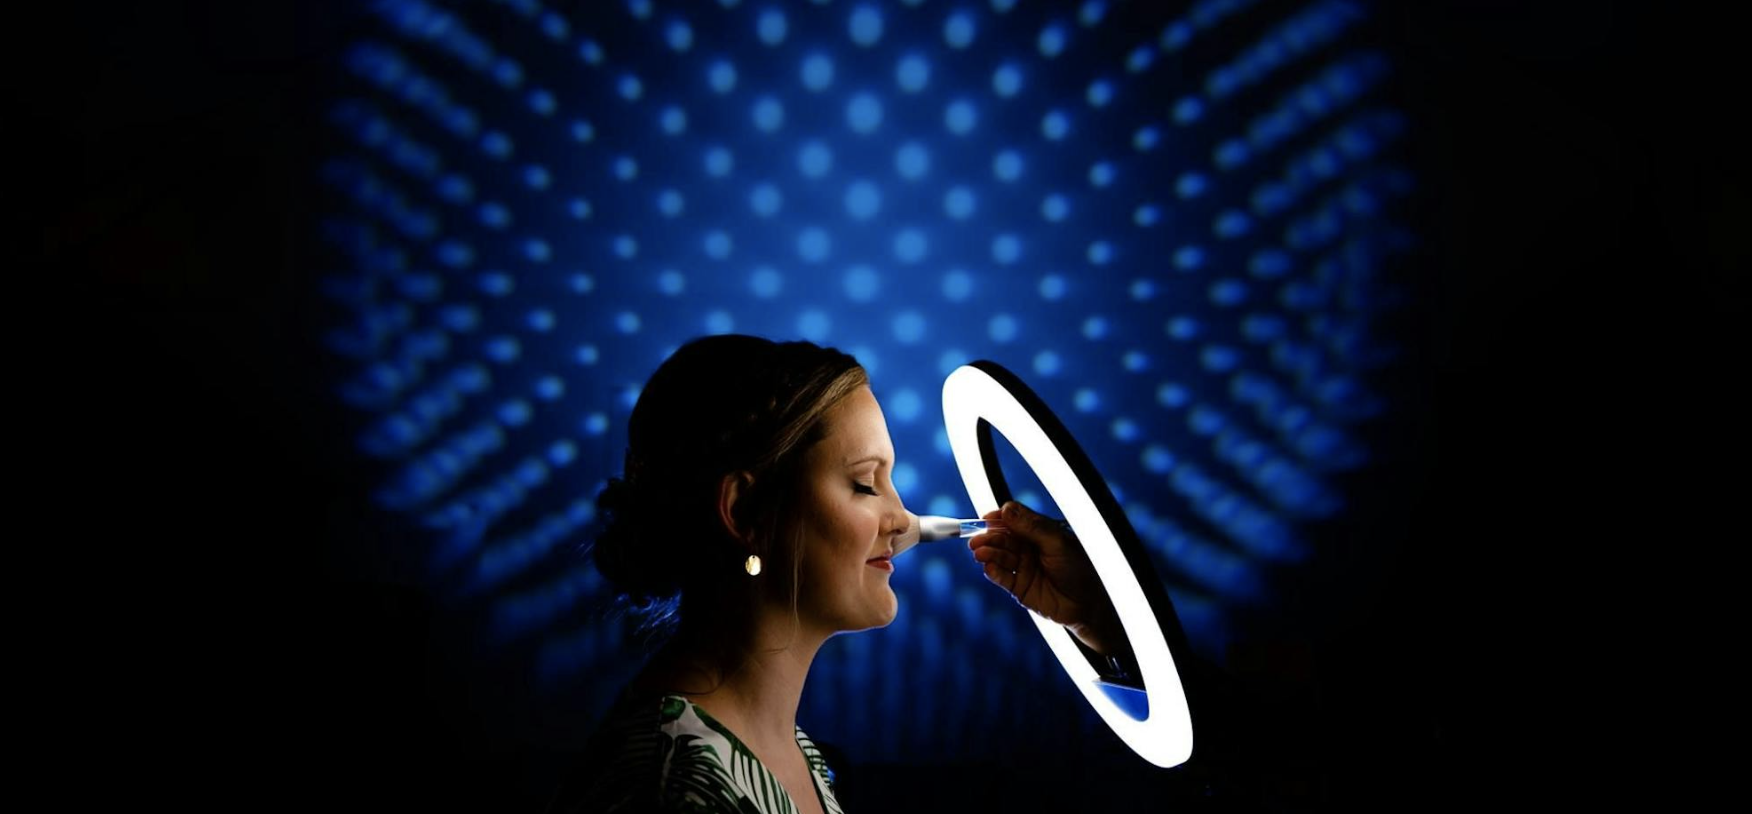 Photo by Alan WohlgemutOur MagBeam is a revolutionary product designed to make creating focused light and light patterns incredibly easy. It's one of our most technical products, so here are a few important things to remember when setting up and using your MagBeam. We've also created a short video positively bursting with information to walk you through setup and use of the MagBeam, so you can get out and shooting in no time!
The Lenses
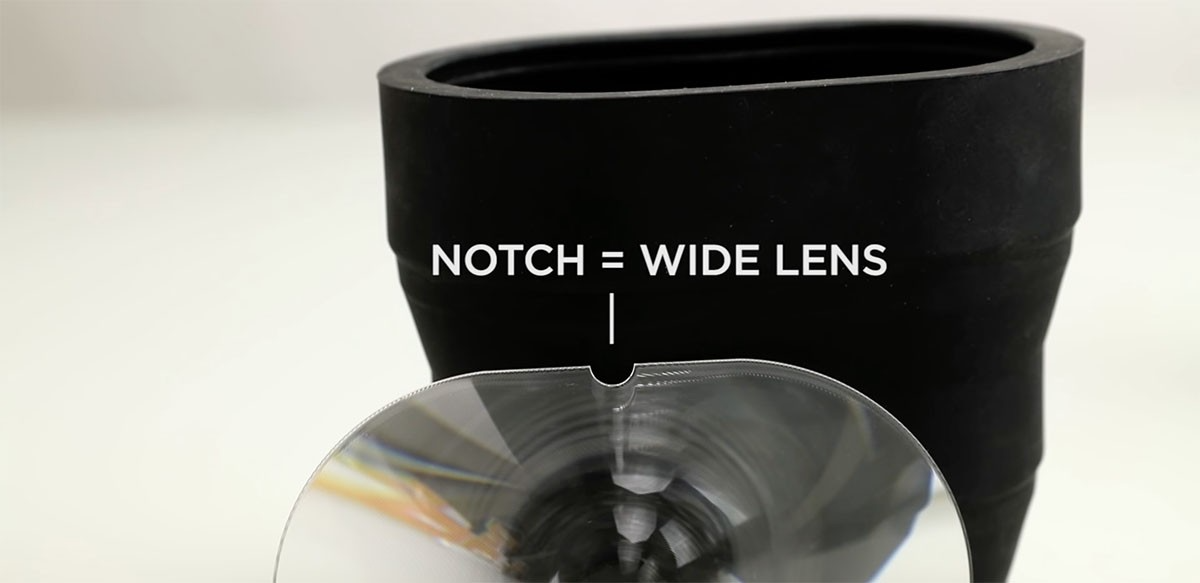
The MagBeam utilizes two different lenses: the Tele Lens and the Wide Lens. They're pretty easy to tell apart just by looking at how the light refracts through the lens. The Tele Lens looks like a magnifying glass, where the Wide Lens... just looks pretty funky (the best technical term we could think of). To make it super easy to tell the lenses apart even from inside your camera bag, we put a half-circle notch on the edge of the Wide Lens.
Stages of the MagBeam Tele Lens
The MagBeam Tele Lens shapes light into a precise, extended beam, providing a super-focused spotlight effect and boosting effective light output by two to three stops. It can be used when the MagBeam is collapsed, semi-extended, or fully extended—which is where the Tele Lens really shines. To get the 'cleanest' light output (edge-to-edge uniformity) from the MagBeam, set your flash head zoom setting as wide as you can, 24mm or wider. The wider the zoom on your flash the better!
To get the highest flash output possible with the Tele Lens (which is what most wildlife and bird photographers need) set your flash head zoom to 70mm or greater. Between 70mm and 200mm the output is essentially the same. Before shooting wildlife or bird photography with an on-camera flash, you will want to calibrate your flash setup to get the best results. This will ensure that the MagBeam is producing light directly in the center of your frame. You can follow the calibration setup instructions below.
.png)
Calibrating the Telephoto Lens
Depending on your setup, you will probably need to calibrate the Tele Lens to get the light in the center of your frame. Each flash or lens setup might require a different amount of “tilt” for proper calibration. To start, install the MagGrip 2 on your flash and angle it backward by pushing the top side of the MagGrip 2 towards the back of the flash. Make sure it is even from side to side.
.png)
Step 1: A few adjustments usually calibrate the MagBeam to your flash setup. Each flash or lens setup may require a different tilt. In the above image, the MagBeam has a slight downward angle. Aim to have the center of the Tele Lens point straight.
Step 2: With the MagGrip 2 on your flash, push the top side back. This angles the MagGrip 2, exposing a bit of the flash shell at the top while remaining flush with the flash head at the bottom.
.png)
Step 3: If the flash appears too high in your photo, tilt the MagGrip 2 forward to lower the beam. Once the flash is centered in the photo, you're calibrated and ready to shoot with the Tele Lens.
Step 4: It usually only takes a few adjustments to properly calibrate the MagBeam to your specific flash setup. If the MagBeam’s concentrated flash is in the dead center of your photo, then you are ready to shoot!
Tele Lens Examples
Off Camera & On Camera Flash
.png)
The Wide Lens
The MagBeam Wide Lens allows you to project unique MagMasks patterns and shapes onto your subject or background using the power of your flash and its fresnel lens magic.On the other hand, the Wide Lens is used only when the MagBeam is fully collapsed, and only with MagMasks. If you use the Wide Lens without the MagMasks, or with it extended, it will not produce the desired results, and you'll likely feel confused because things look...odd. Also, if you put a MagMask in an original MagGel holder, it will not project the design of that MagMask correctly. The MagMasks can only be used when placed inside the MagBeam's special MagMask slot.
Wide Lens Examples 
How to Install the Lenses
There’s a right way and a wrong way to install the lenses into the MagBeam. If you run your finger over the lenses, you’ll feel that one side is smooth and the other side has grooves cut into it along the surface of the lens. These grooves help to "focus" the light. In order for the MagBeam to work properly, these grooves need to be installed facing inward towards your flash. If you don’t install the lenses correctly, it will not produce the desired results. Fortunately, it’s easy to install, even in the dark. Just rub your finger over the surface, turn the grooved side in towards the flash, and slip it into the front lip on your MagBeam (the larger end).
.png)
Step 1: Start by holding the Tele Lens in one hand and MagBeam in the other. Align the Tele Lens (or Wide Lens) with the opening of the MagBeam, ensuring the lens is oriented correctly to fit into the slot with the grooves facing the inside of the beam.
Step 2: Begin by inserting one edge of the Tele Lens (or Wide Lens) into the MagBeam. Apply gentle pressure to push the lens into the slot. You might need to flex the MagBeam slightly to accommodate the lens.
.png)
Step 3: Continue to push the lens all the way in until it fits snugly and is fully seated within the MagBeam. Make sure the lens is secure and even on all sides under the silicone to avoid any misalignment.
Step 4: Your Tele Lens should now be properly inserted into the MagBeam, ready for use. (Please note: you can use the tele lens in the collapsed, semi-collapsed, or extended position.)
How to Install the MagMasks
As mentioned previously, the Wide Lens was created solely to work with the MagMasks. The MagBeam must be fully collapsed before using the Wide Lens. To do this, install the MagMasks at the base of the MagBeam into the integrated slot. If you want to add some color, you can also insert an original MagGel (not the newer Pro Gels) into the same slot along with your MagMask. Take a photo to test the results! If the pattern doesn't appear properly, make sure your MagBeam is fully collapsed, that you are using the Wide Lens (the one with the notch), that your MagMask is inserted flush into the integrated slot, and that the Wide Lens has been inserted properly into the MagBeam (the grooves must point towards the flash)..png)
Step 1: Before using the MagMasks, ensure the MagBeam is fully collapsed and the Wide lens installed. Press one corner of the MagMask into the slot on the front of the MagBeam.
Step 2: Ensure that the silicone material of the MagMask covers all the ridges of the slot by pressing it firmly into place.
.png)
Step 3: Your MagMask it now installed and you’re ready to attach your MagBeam to your flash unit via the MagGrip.
How to Extend and Collapse the MagBeam
.png)
.png)
Step 1: Take the MagBeam in your dominant hand.
Step 2: Grasp both ends of the MagBeam firmly with both hands.
Step 3: Gently pull both ends of the MagBeam away from each other, expanding it to its full length. Ensure that the MagBeam is fully extended and there are no remaining folds or creases. Once extended, the MagBeam is ready to be attached to your flash unit.
To collapse the MagBeam, simply grab onto the top sides of the MagBeam (the larger end) with your thumbs, and pull the next section in towards the base of the MagBeam using your fingertips. Then repeat for the next section. It might take a few tries to get the hang of it at first, but it’s just like riding a bike. Once you've done it a few times, you've got it down!
Please note: Only use Wide Lens with collapsed MagBeam.
How Far Does The MagBeam Extend?
The distance the MagBeam extends the light is determined by a few things.
- Flash power
- Flash zoom
- How Far the MagBeam is extended.
For example, after testing the MagBeam fully extended with the flash zoomed to 200mm with the Tele Lens installed, we've discovered that you achieve 2.5 stops of effective light. With some simple math we can understand that if you would typically get 50ft range with the bare bulb the MagBeam would reach 125 feet in this configuration.
Storing your MagBeam
The MagBeam’s fresnel lenses can act like a magnifying glass, which if used improperly could burn or melt other objects. While it’s pretty unlikely you could accidentally damage your flash or other camera gear with the lenses installed in your MagBeam, we recommend you avoid pointing the MagBeam directly towards the sun while shooting for any extended amount of time. We also recommend you store the MagBeam, and it’s lenses, in the provided MagMod pouch when not in use.
Please note! These lenses are designed to magnify and shape light. Do not leave them outside, in sunlight, or near bright or hot light sources unattended. When used improperly, lenses can produce intense light output that can cause combustion, start fires, or damage eyesight. Do not look directly into any magnified light source.