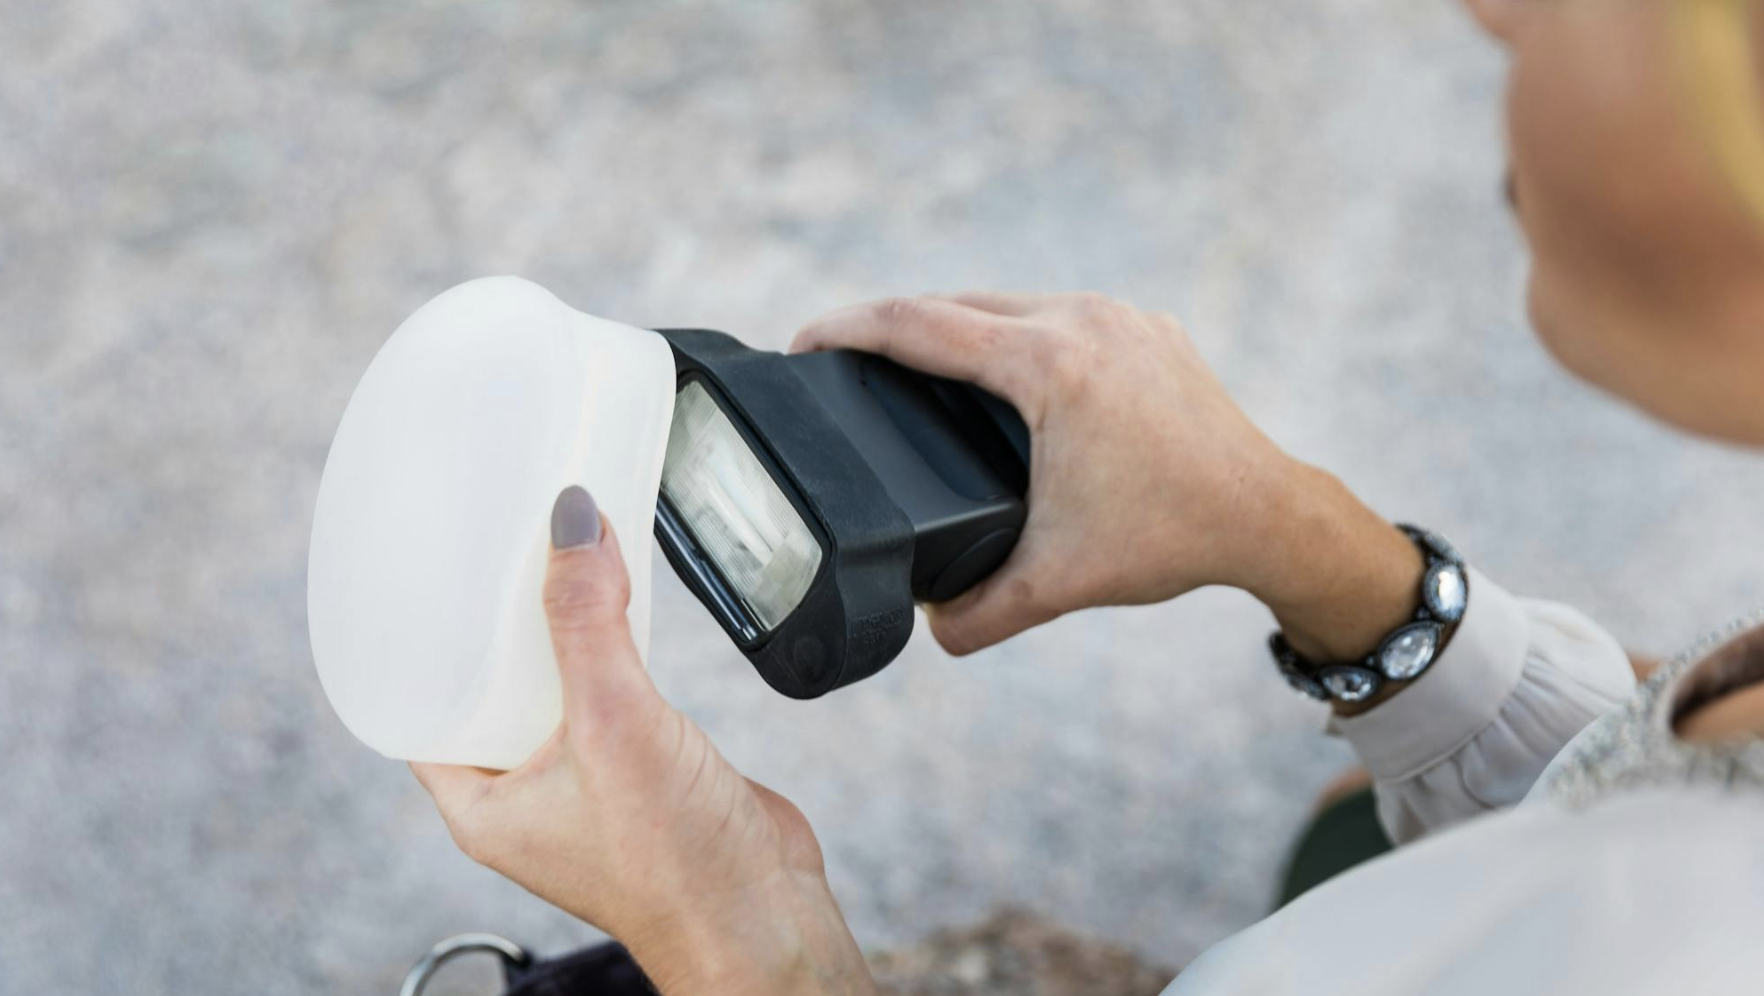
How to Separate Our Magnets and Reinstall ThemUpdated 8 days ago
Mastering Your MagMod Magnets:
At MagMod, our modifiers are powered by super-strong neodymium magnets—think herculean grip! This means they hold tight to each other, but on rare occasions, they might get a bit too cozy, especially if stored together in a gear bag or near other strong magnets.
If your magnets decide to bond, separating them can turn into a hilariously tricky task (we could really use Superman sometimes!). But don’t worry, there’s a simple solution to get them apart and back to creating stunning photos!
The Best Technique: Slide them apart sideways! Pulling straight apart is nearly impossible, but using the edge of a table, desk, or counter gives you the leverage you need. Look for a sharp 90º corner—rounded edges don’t work quite as well. This is the method we use here at MagMod to keep things running smoothly.
Check out this short video we put together to show you exactly how it’s done. Let’s get those magnets separated and back to creating magic! ✨
Checking and Reinstalling Your MagMod Magnets:
Once you’ve successfully separated the magnets, it’s time to check their polarity using your MagGrip 2 or a modifier.
How to Test Polarity:
- Hold the loose magnet up to the front of your MagGrip 2, where you’d normally attach your modifiers.
- If the magnet repels, flip it over. If it attracts, you’ve found the correct side that should face the 'back' of the modifier.
For extra assurance, hold the modifier that’s missing its magnet up to your MagGrip 2. You’ll see the side with the remaining magnet jump to attach. This tells you which side the loose magnet should connect with when reinstalling.
Installation Methods:
Once you know which way the magnet should face, you can reinstall it in one of two ways:
Shallow Pocket Holes (like the MagSphere 2):
- Insert one corner of the magnet into the shallow pocket.
- Stretch the other side and pop the rest in.
Deep Pocket Holes (like the MagGrip 2):
- Gently push the whole magnet into the hole, ensuring it doesn’t rotate.
- You might want to use a wooden or plastic chopstick (or the back of a pencil) to push it all the way in.
Troubleshooting:
If, after reinstalling, the magnet repels from your MagGrip 2, it’s time to flip it. No worries—magnets can be tricky!
To remove a misaligned magnet:
- For shallow pockets, stretch the opening and push the magnet out one corner at a time.
- For deep pockets, use your thumb to push the magnet toward the opening while keeping track of its orientation.
A Quick Reminder:
Always keep a firm grip on the loose magnet while working. Our MagMod magnets are powerful, and getting too close to other modifiers could pull it right out of your hand—resulting in a magnet reunion!
Now you’re all set to get back to capturing amazing shots! 📸✨
Have Questions?
If you’re feeling stuck or just need a little extra support, our team is here for you! Reach out to us 👉 HERE👈 and let’s get you shining!
Thanks for being awesome and part of the MagMod community. Happy shooting out there! 📸
— The MagMod Team
